5 Quick Vinyl Flooring Installation Tips

There are many tips and tricks that professional flooring installers know that will make a vinyl plank or tile install go fast and easy, these are just a few basic ones. The tips below will help you avoid some LVP install problems and maybe get things done a little bit easier.

Preparing a flat surface under vinyl flooring Is worth the effort

1. A little surface prep goes a long way

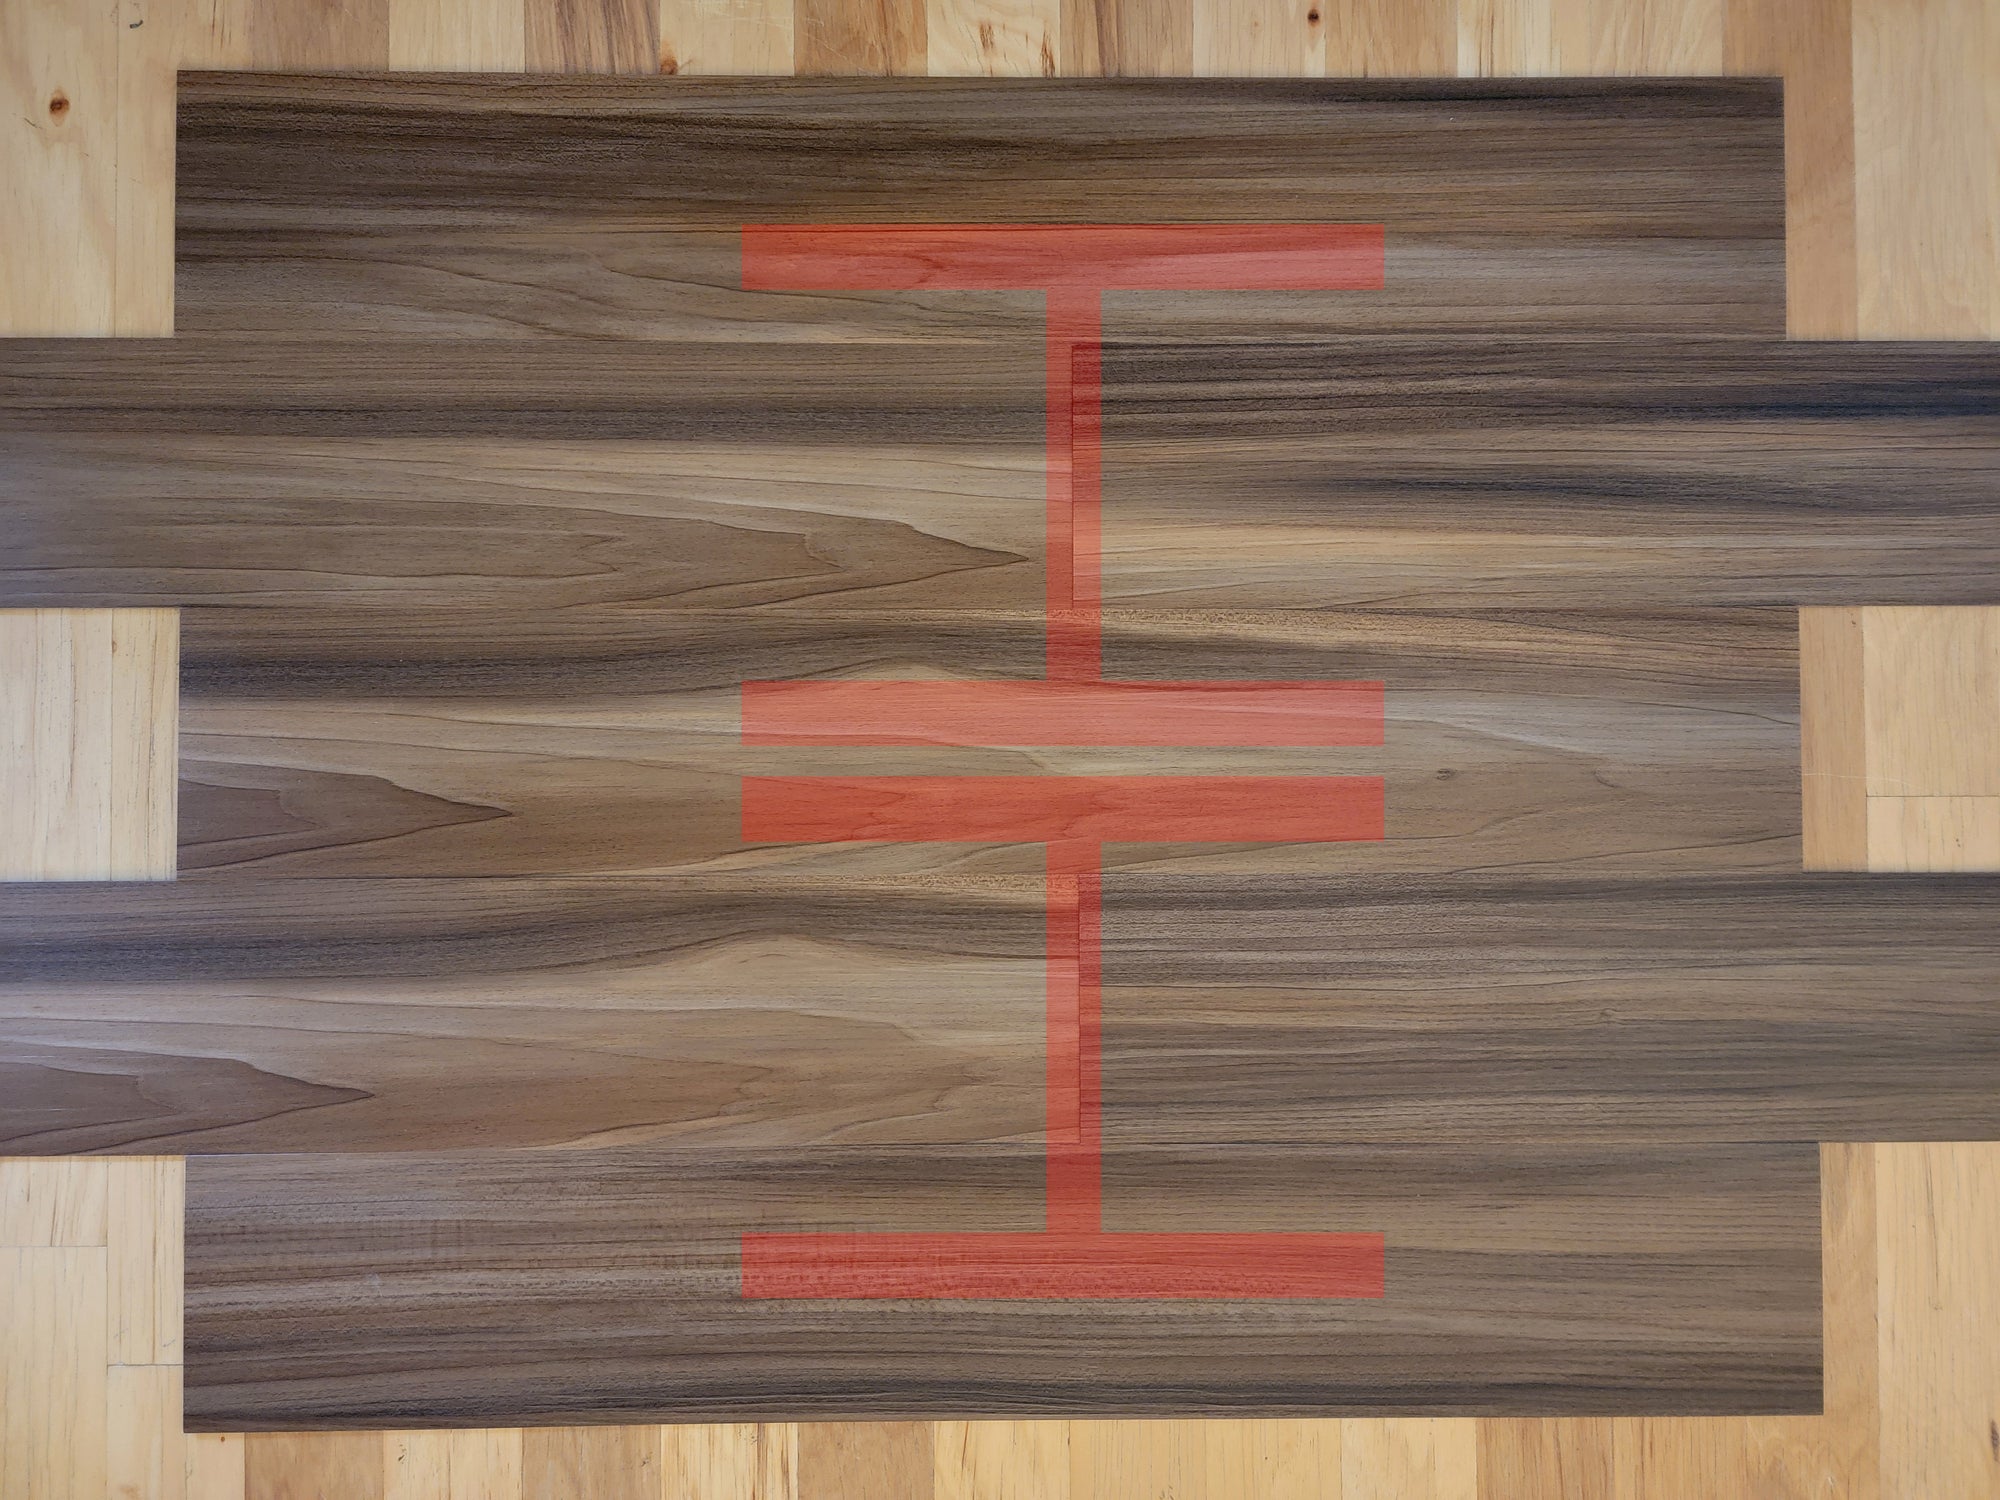
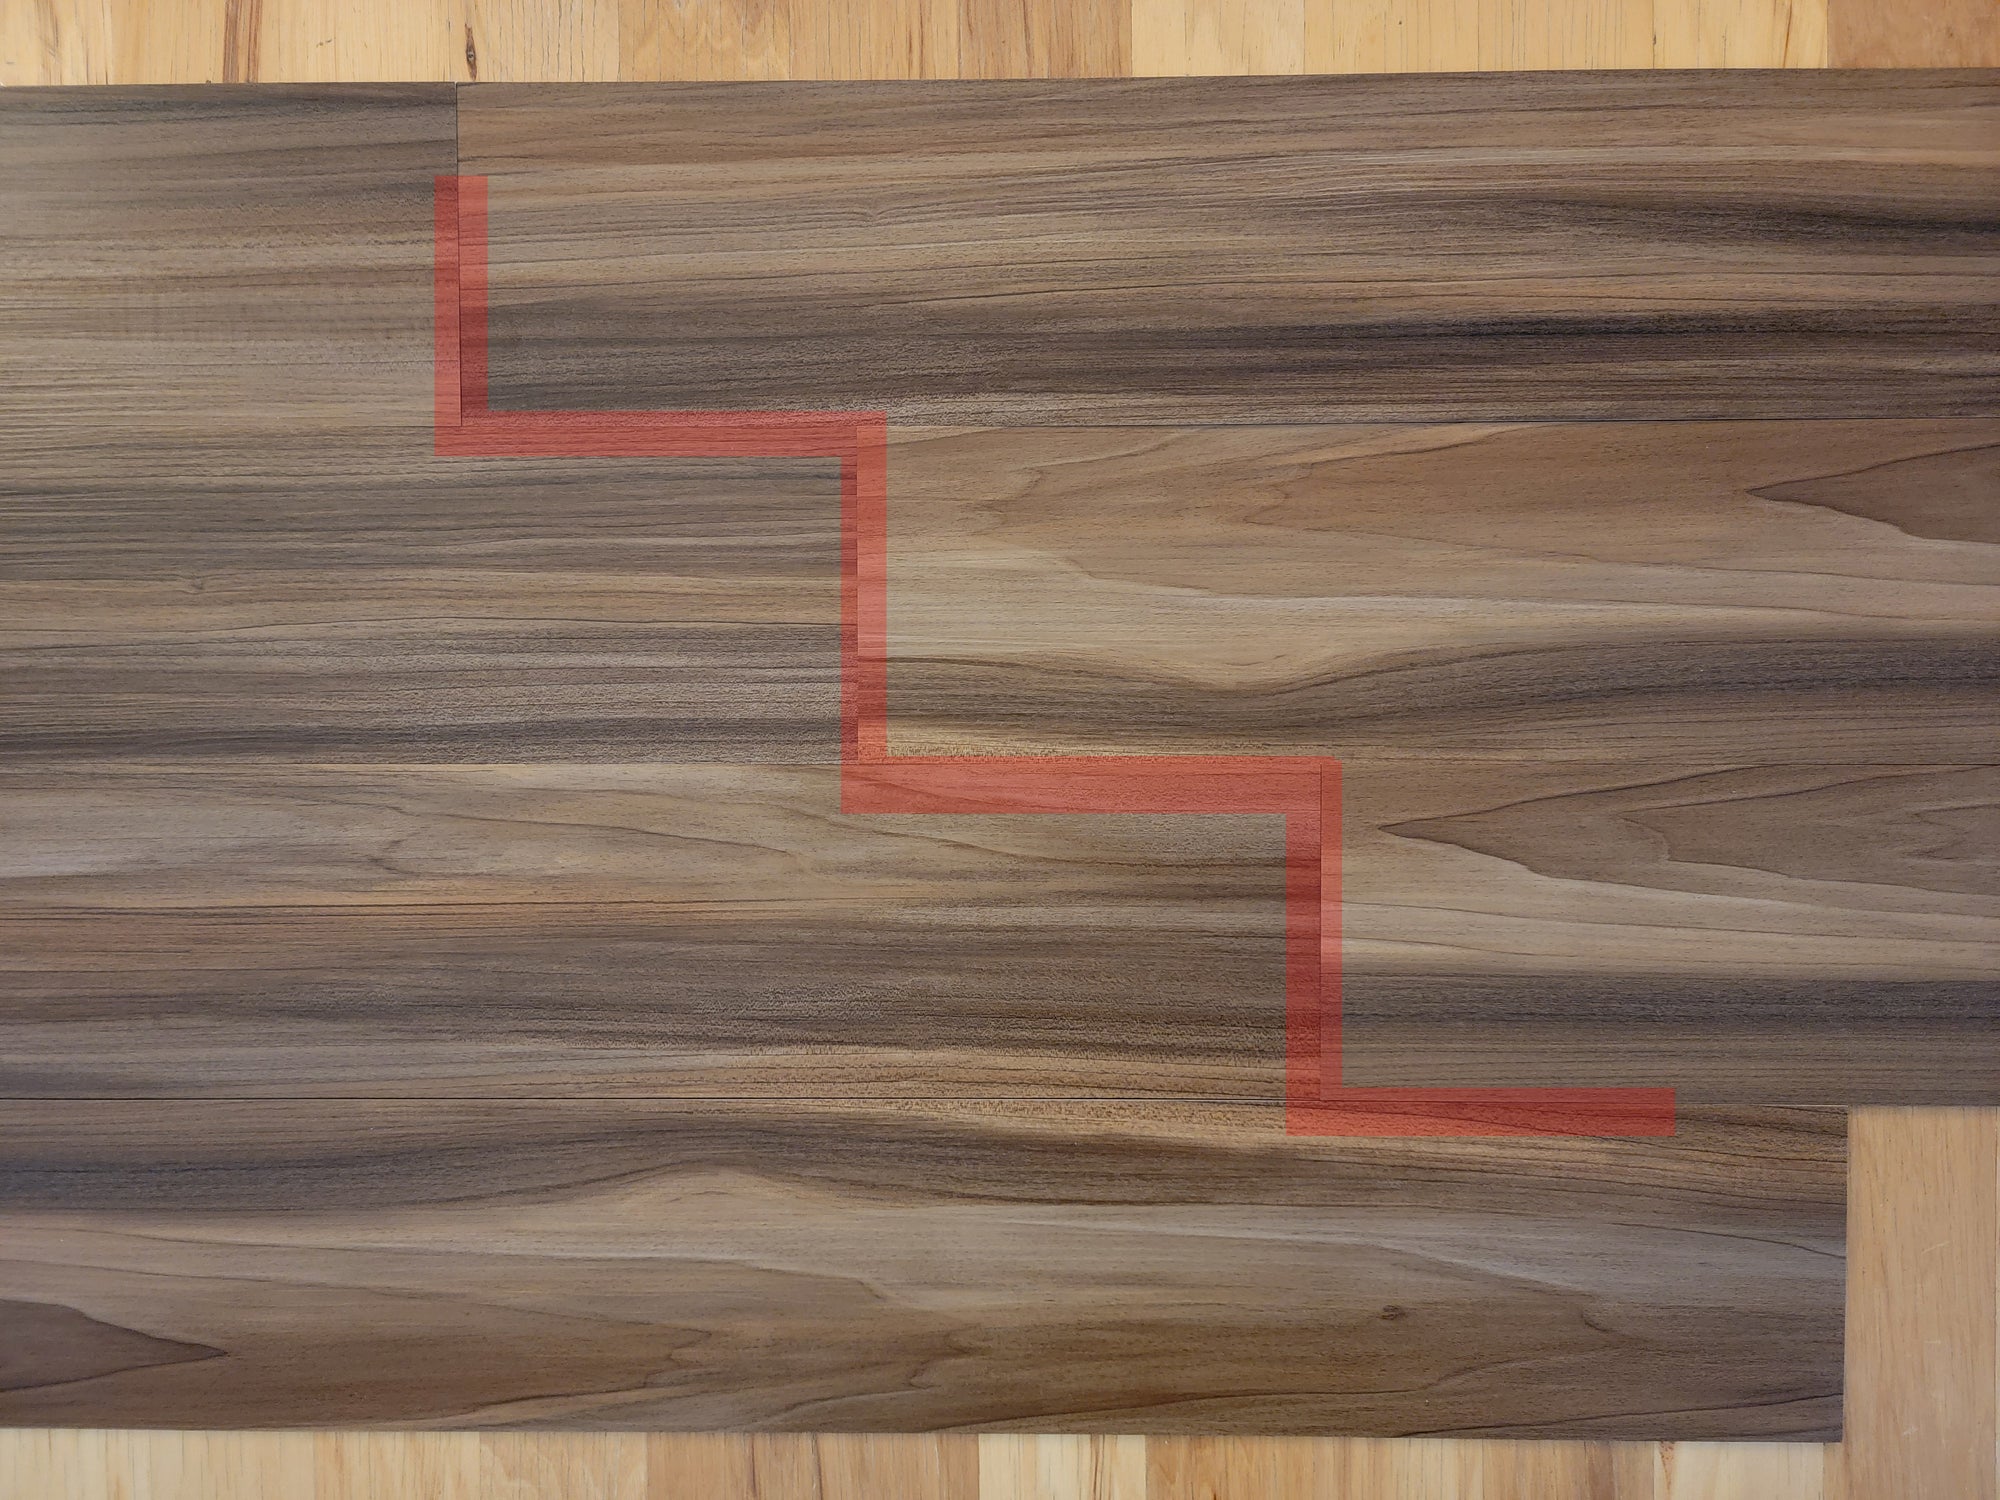
Chances are that your current subfloor or existing flooring is neither flat nor level. Luxury vinyl planks generally do well with flooring not being level, but when they aren’t flat you are going to have issues. What issues will I have with my vinyl flooring if the floor underneath isn’t flat? Having a dip or a hump in your flooring will strain the locking mechanism that keeps your planks or tiles together. Over time the locking mechanism can fail from the additional strain or movement of the joint. If you are using a brittle product like SPC your flooring can actually crack, crumble and flake from movement and strain over flooring imperfections. Choose a less error prone product with some flex like our Isocore vinyl planks and tiles. Fill any indentations or low spots with flooring patch. Sand down any high spots for a better, flatter surface to install your LVP on.

2. Power tools make installing LVP even easier

Sure, you can score and snap most vinyl flooring with a straight edge and razor, but it’s a pain and sometimes gives you rough edges. Investing in a few power tools can make installing LVP far easier and faster. One thing to keep in mind is that while power tools will speed up a vinyl flooring install, they can also make more of a mess. Keep your installation area as clean as possible to avoid issues with debris.

  • A good flooring saw like this one from Ryobi will make cutting across vinyl plank or ripping it long ways, a breeze. It’s a little on the expensive side, but if you are doing more than 1 room it’s worth it. If you are going to spend a little extra on any one specific flooring power tool, do it on this type of saw.

  • Every room has at least one doorway to deal with, so we definitely recommend adding a cheap corded oscillating saw to help undercut the door jamb molding.

3. Unbox and sort LVP to minimize repeats

All vinyl planks and tiles have design repeats These repeats are similar or exact duplicate planks or tiles in a design. Usually, you will have anywhere from 4-10 of these unique planks (although some manufacturers will find creative ways to say they have more) and tiles for a specific color. Open several boxes of vinyl flooring and sort each plank or tile into stacks of similar designs. Make sure you do all of this unboxing and stacking in a separate staging area or in a spot on the floor you’ll be doing last. When you begin laying the vinyl planks or tiles you can randomize which ones you choose and be much more aware of keeping duplicates away from each other. The less repeats you install near each other the more natural your finished vinyl install will look.

LVP Install Mistake - H Patterns
LVP Install Mistake - Stair Stepping

4. Avoid "H" Patterns & Stair Stepping the LVP

Watch out for stair step patterns and "H" patterns as you install your vinyl planks. Luxury vinyl planks should be installed in a manner that is as random looking as possible. What this means is that you want to make sure you are starting each row with a different sized plank and that the seams between each plank do not line up in ways that show a stair stepping pattern or a series of H patterns where the seam lines up on every other row. While installing LVP with either of these patterns in your floor will not make it fail, it will be distracting and look unprofessional. Please keep in mind that there is a minimum amount of space between seams for vinyl plank installs. Please check your install instructions for those minimum overlap details. See 2 examples below of H patterns and stair stepping in vinyl planks.

Keep LVP Click Lock Joints Clean

5. Keep it Clean to Avoid Lock Joint Problems

Keep your tongues and grooves clean! The profiling on vinyl flooring locking mechanisms are highly precise and designed to create a tight lasting connection between individual planks and tiles. Any pieces of debris that make it into the channels on either the tongue or grooves of the vinyl flooring locking mechanism will result in a poor connection and possibly damage to the locking mechanism itself. If you’ve used the tapping block and mallet to hit in a new piece and see that the seam doesn’t look full engaged or looks more prominent than other seams, its likely you had some type of debris get into the locking mechanism. Try to keep a clean working environment and cut any pieces as far away as possible from where you are doing the actual install.