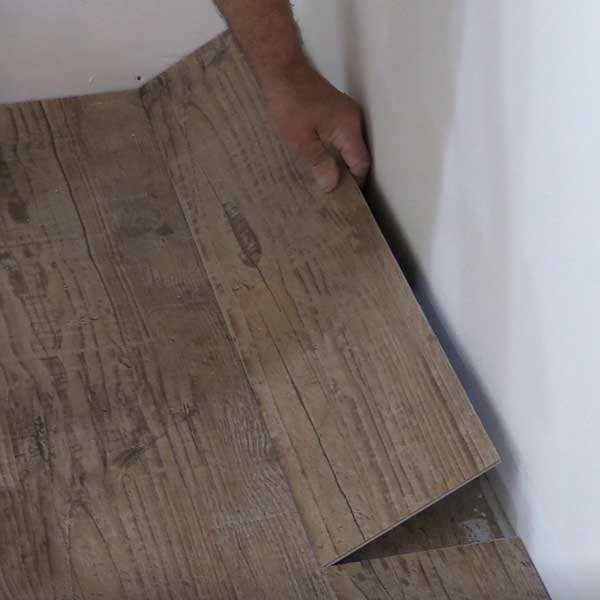
Installing LVP & LVT

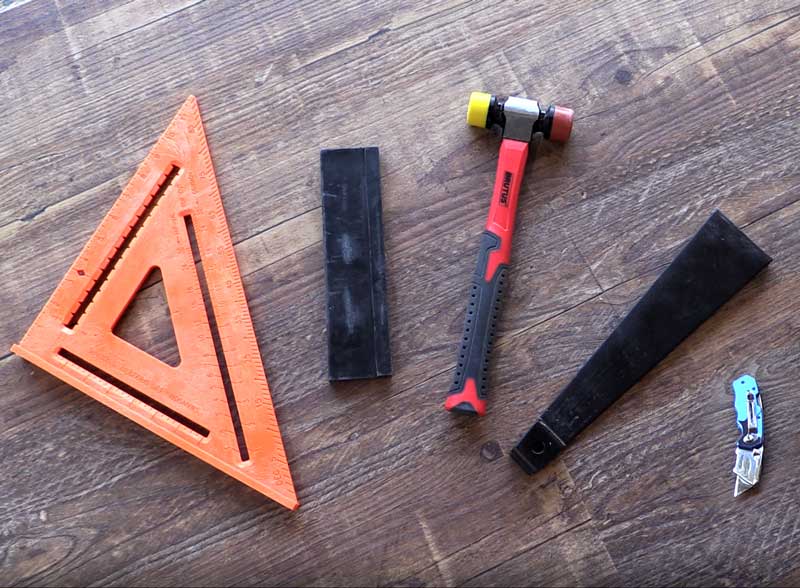
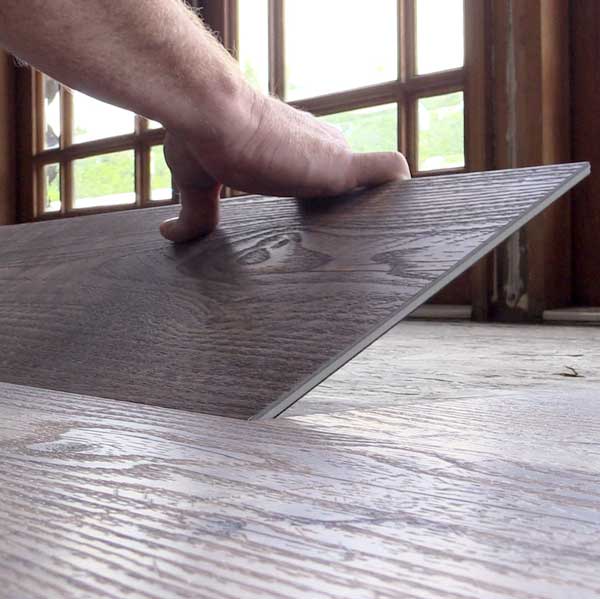
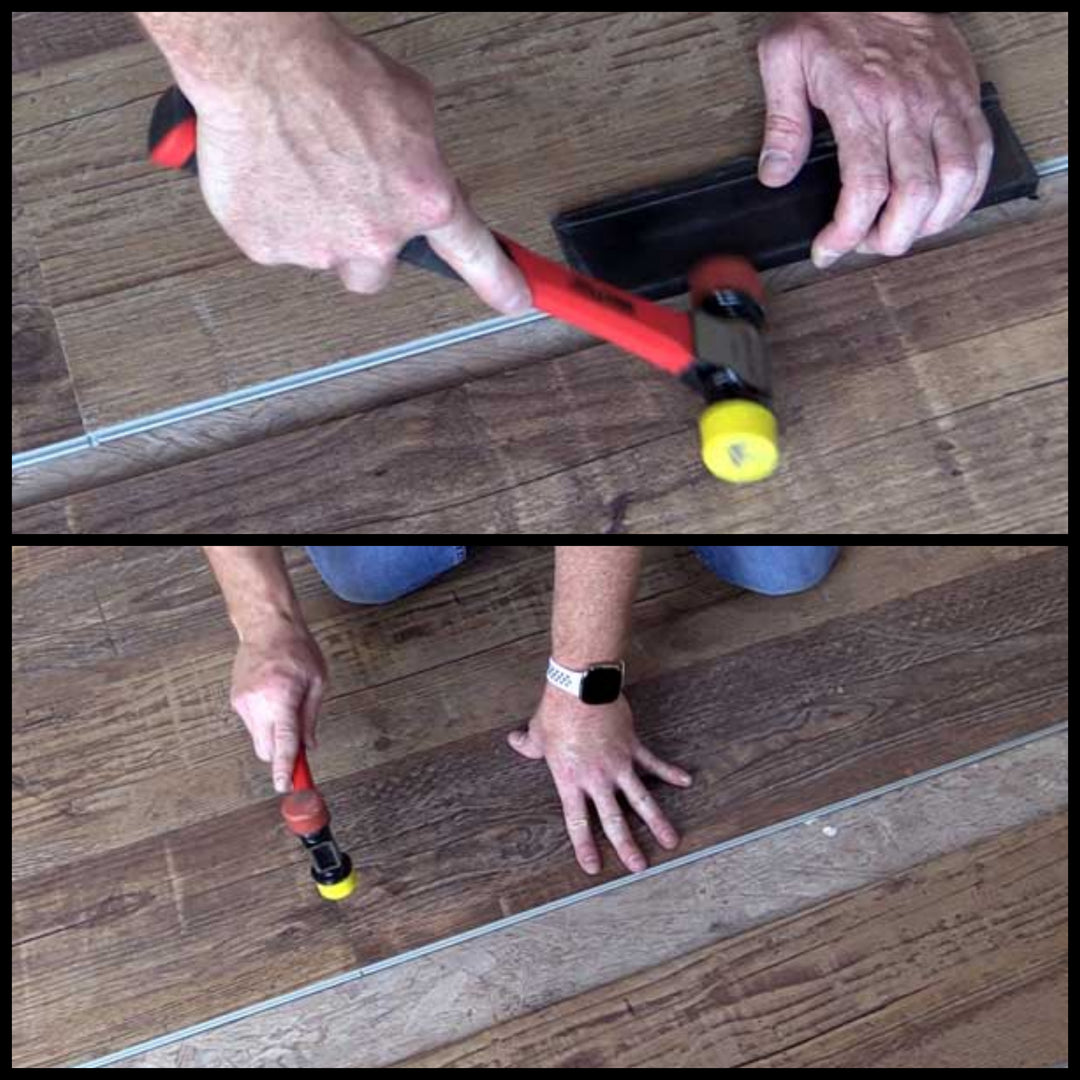
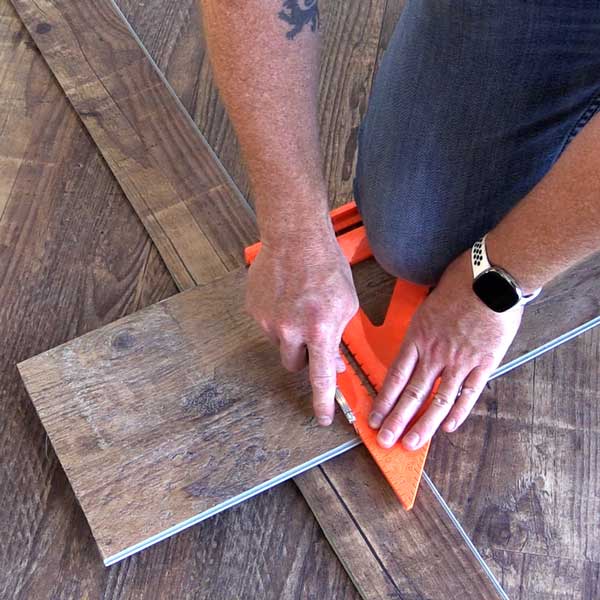
Find helpful guides and tips for installing your new ISOCORE flooring.

Basics of Installation

1. All flooring types require 1/4" spacers around the perimeter of the installation area throughout the installation process.

2. It is important to create a stagger amongst rows and maintain it throught the remainder of the installation.

3. Mix planks from different boxes to increase the randomization throughout the room.

4. To finish the flooring installation, use transitions and moldings to cover the 1/4" gap at the perimeter.

Installation Guides

ISOCORE™ LVP & LVT

Learn more about installing ISOCORE LVP & LVT.

Installation Guide

ISOCORE™ Multi-Width Planks

Learn more about installing our multi-width LVP.

Installation Guide

ISOCORE™ Chevron LVP

Learn more about installing our Chevron LVP.

Installation Guide

Tools you will need

  1.  1/4" spacers
  2. Profiled tapping block
  3. Soft-faced hammer
  4. Pull bar
  5. Utility knife
  6. Straight edge

Overview of Installation Steps

1. Set 1/4" spacers before installing the first row. Continue through the entirety of the installation.

2. Connect planks by laying the tongue over the groove.

3. Using a soft-faced hammer, square the joints by tapping the long edge with the profiled tapping block, then lightly tap the short joint.

4. Before starting the next row, cut the first plank you will use, to two-thirds its length, or at least 8” shorter to create a stagger.

5. Maintain the stagger throughout the remainder of the installation.

6. In the final row, install the plank with the cut side facing the wall. Use a pull bar to lock the long edges together. Continue with the remainder of the row.

Learn More About Our Flooring